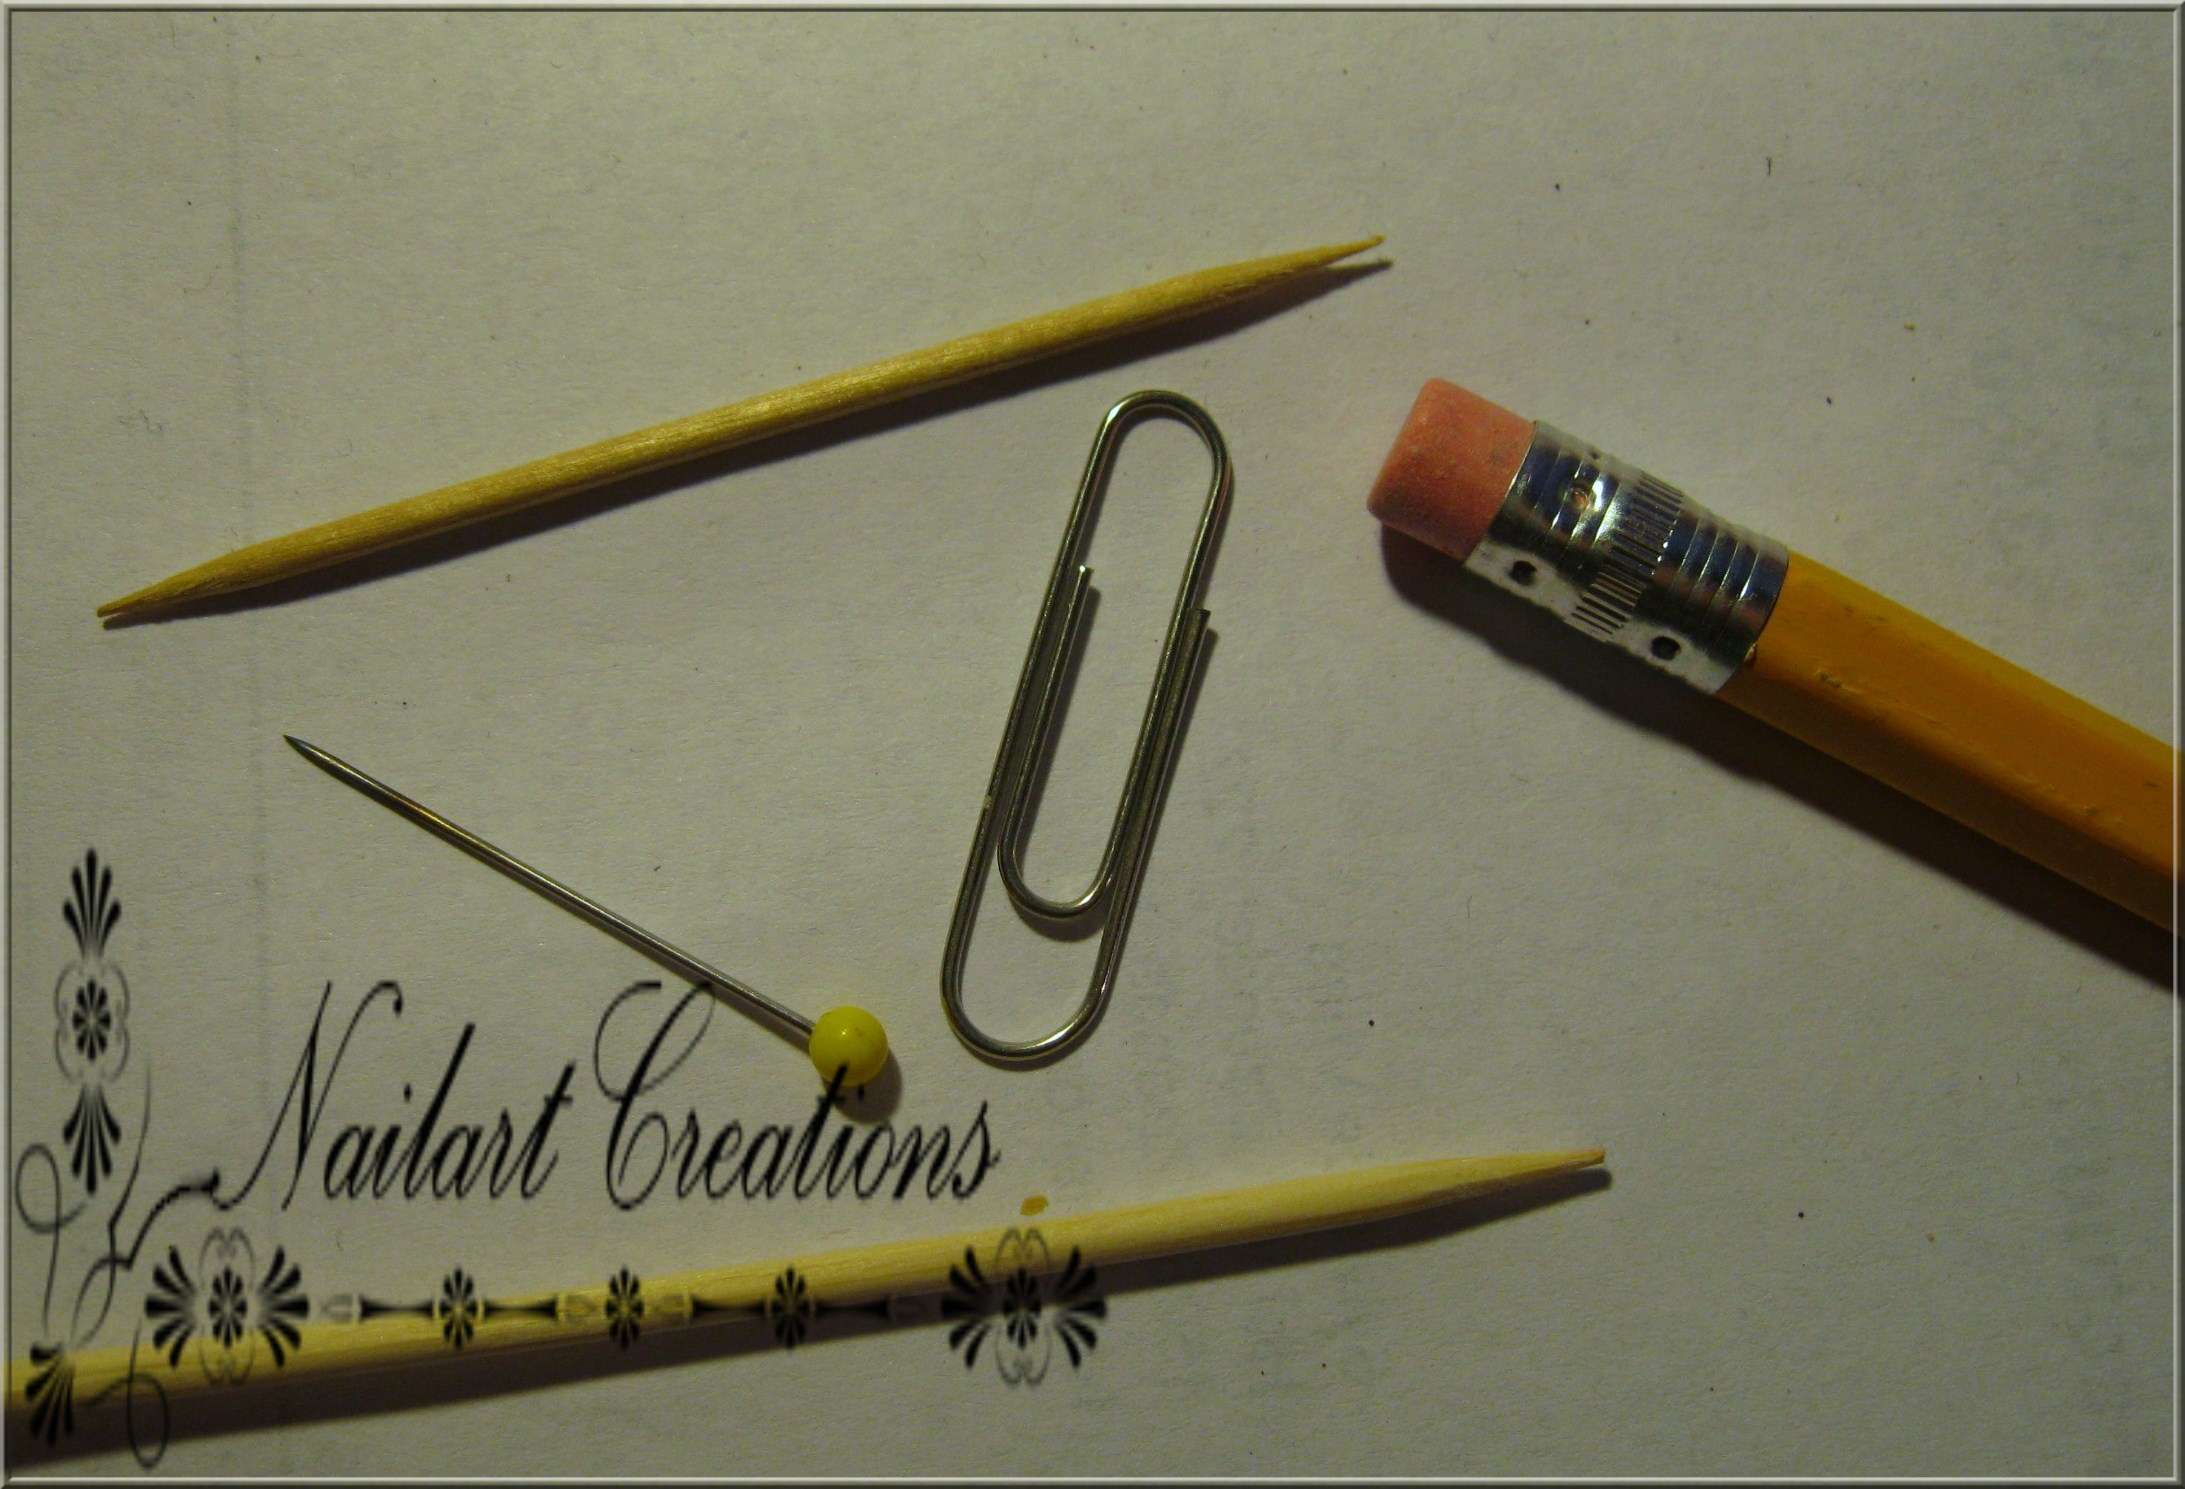
Afgelopen week schreef ik al een post over het gebruik van dottingtools. Vandaag ga ik jullie een how to laten zien hoe je je eigen dottingtool kunt creëren zonder er ééntje te hoeven kopen! Heel simpel met bovenstaande spulletjes kun je maar liefst 4 verschillende dottingtools creëren. Bovenstaande spulletjes heeft bijna iedereen wel in huis dus wanneer je even snel je eigen dottingtool wilt gebruiken is dit een oplossing!
Last week I already wrote an article about how you can use a dottingtool. Today I'm going to show you a new how to about how you can make your own dottingtool without buying one! With above stuff you can make 4 different dottingtools, I used stuff which most people already have at home.
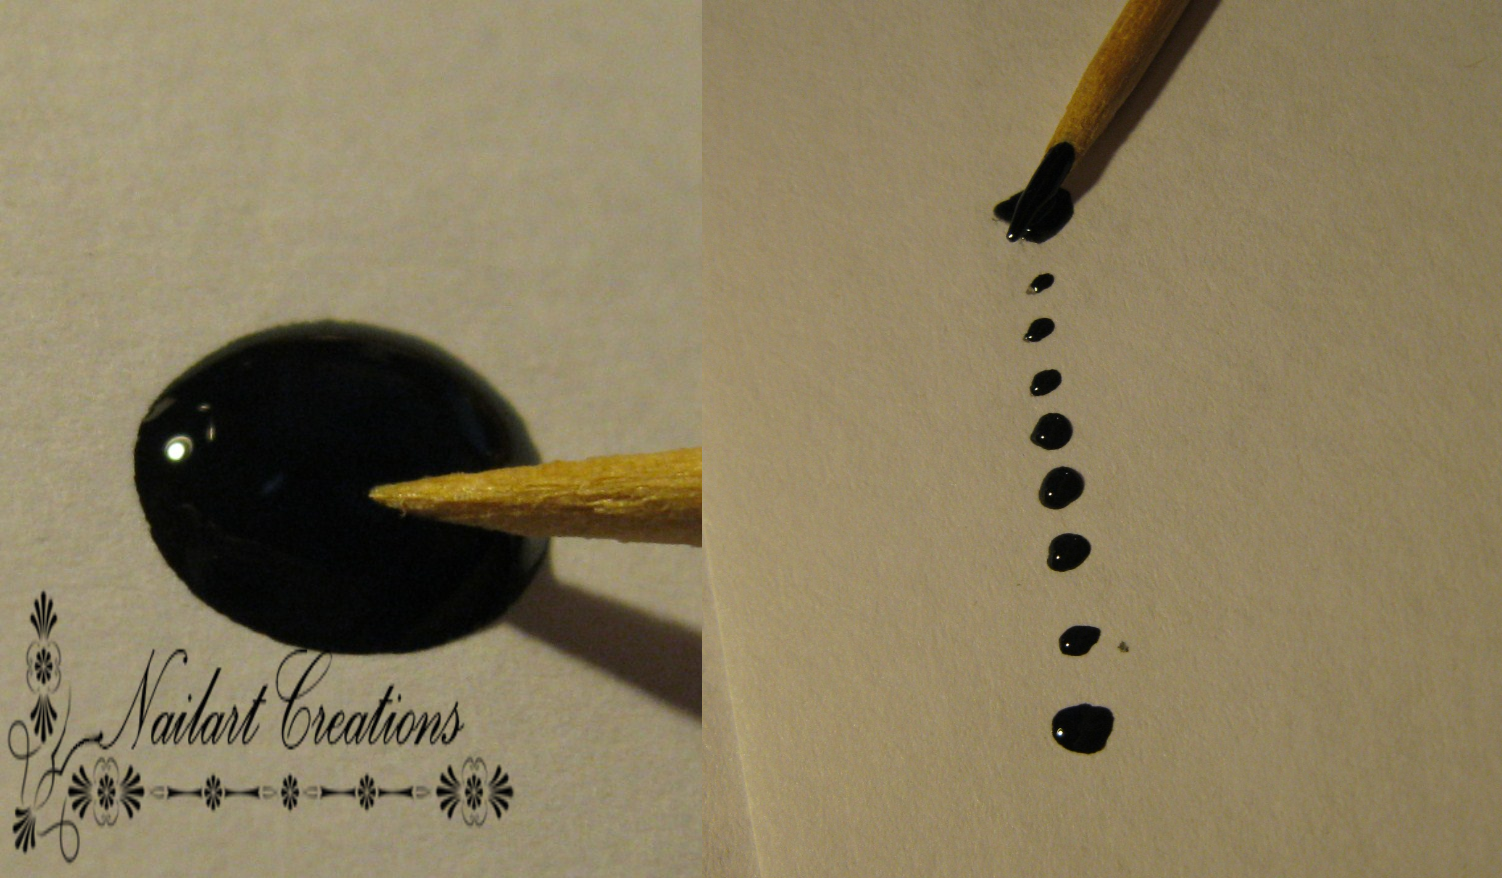
Als eerste ga ik jullie laten zien hoe je een dottingtool kunt maken van een simpele tandenstoker. Laat een druppeltje nagellak vallen op een papiertje en steek het uiteinde van de tandenstoker in het druppeltje (zoals ik hierboven gedaan heb). Hoe groter je het stipje wilt hoe langer je de tandenstoker in de druppel lak moet houden. Vervolgens neem je je nagel (ik heb een papiertje gebruikt hierboven) en maak je de stipjes op je nagel. Voila! Het enige nadeel is dat de stipjes vrij klein zijn en niet mooi egaal rond.
The first thing I'm going to show you is the using of a toothpick. Drop some nailpolish on a piece of paper and stick the end of the toothpick into the nailpolish. Do you want big dots? Leave it in the polish a little bit longer. Up next you take your nail ( I used a piece of paper) and make the dots on your nail. Easy huh? One disadvantage is the size of the dots, they're pretty small and not very round.
Het tweede wat je kunt gebruiken is een satéprikker. Eigenlijk is de werking van deze hetzelfde als van de tandenstoker alleen is een satéprikker iets langer en kan deze wat grotere rondjes maken. Maar ook voor de satéprikker geldt dat de rondjes niet mooi egaal worden.
The second thing you can use is this long wooden stick. It's practically the same as the tootpick but this stick is way longer and you can create bigger dots with it. But the same thing as the toothpick, the dots aren't nice round.
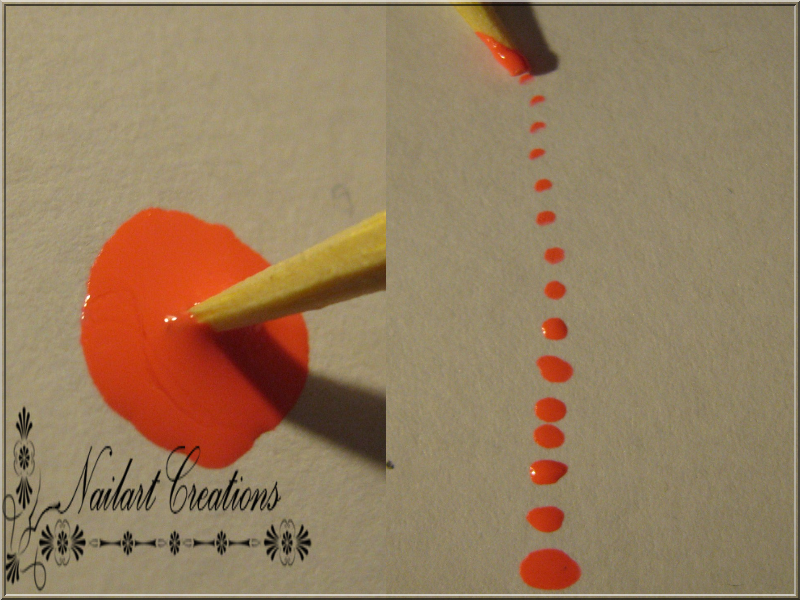
Wat je ook kunt gebruiken is een paperclip. Op bovenstaande afbeelding zie je dat ik een gewone paperclip gebruikt heb en hiervan één kant verbogen heb. Deze kant kun je recht buigen zodat je hem kunt gebruiken als dottingtool!
Another thing you can use is this paperclip. On above image you can see how I took a regular paperclip and bend one side of it straight. With this straight side you can make dots!
Wanneer je de paperclip verbogen hebt kun je deze net zoals de tandenstoker in een druppel nagellak houden en zo stipjes maken. Ook de paperclip maakt geen hele grote rondjes maar soms is dit ook niet nodig. De paperclip maakt wel wat mooiere rondjes dan de tandenstoker en de saté prikker.
When you bend the paperclip you can use it just like the toothpick and the wooden stick. Put it into some nailpolish and make your dots! Well this one doesn't make big dots either but sometimes you just don't need big dots ;) The paperclip makes a little bit nicer round then the toothpick and wooden stick.
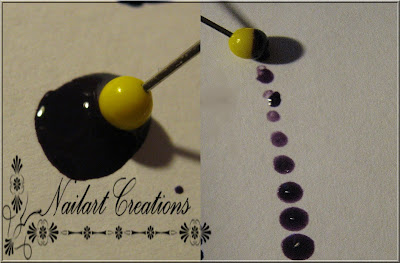
Als laatste kun je een potlood en een speld gebruiken als dottingtool! Neem wel een potlood met een gummetje achterop anders heb je er niets aan. Steek de speld door de gum aan de achterkant van het potlood en voila daar is je nieuwe dottingtool! De potlood zorgt voor een goede grip.
The last thing you can use is a pencil and a pin. Make sure you have a pencil with an eraser at the back or else this doesn't work. Stick the pin into the eraser and voila you have your own dottingtool! The pencil makes sure you can hold it in a good way.
Ook voor deze geldt: steek hem in een druppeltje lak en dotten maar! Zoals je kunt zien maakt deze 'dottingtool' de mooiste rondjes en kun je de rondjes hier ook vrij groot mee krijgen. Persoonlijk vind ik deze manier het beste!
And again for this one: stick it into the nailpolish and make your dots! As you can see this one makes bigger and nice round dots. Personally I like this home made dottingtool the best!
Ik hoop dat jullie iets aan deze tips hebben en volop gaan do it yourselfen! / I hope these tips were usefull for you, have fun with this do it yourself tip!


I have awarded you the Versatile blogger award,you can claim it here if you like
BeantwoordenVerwijderenhttp://nailsandstuff-shannara.blogspot.com/2011/11/versatile-blogger-award.html