Een paar dagen geleden liet ik jullie mijn nailart zien met konad en plakband. Ik heb een aantal reacties gekregen dat er wel interesse in een tutorial was, dus bij deze vandaag de tutorial van Konad With Tape!
A few days ago I showed you my nailart with Konad and Tape. There were a few of you who wanted to see a tutorial. So today the tutorial of Konad With Tape!
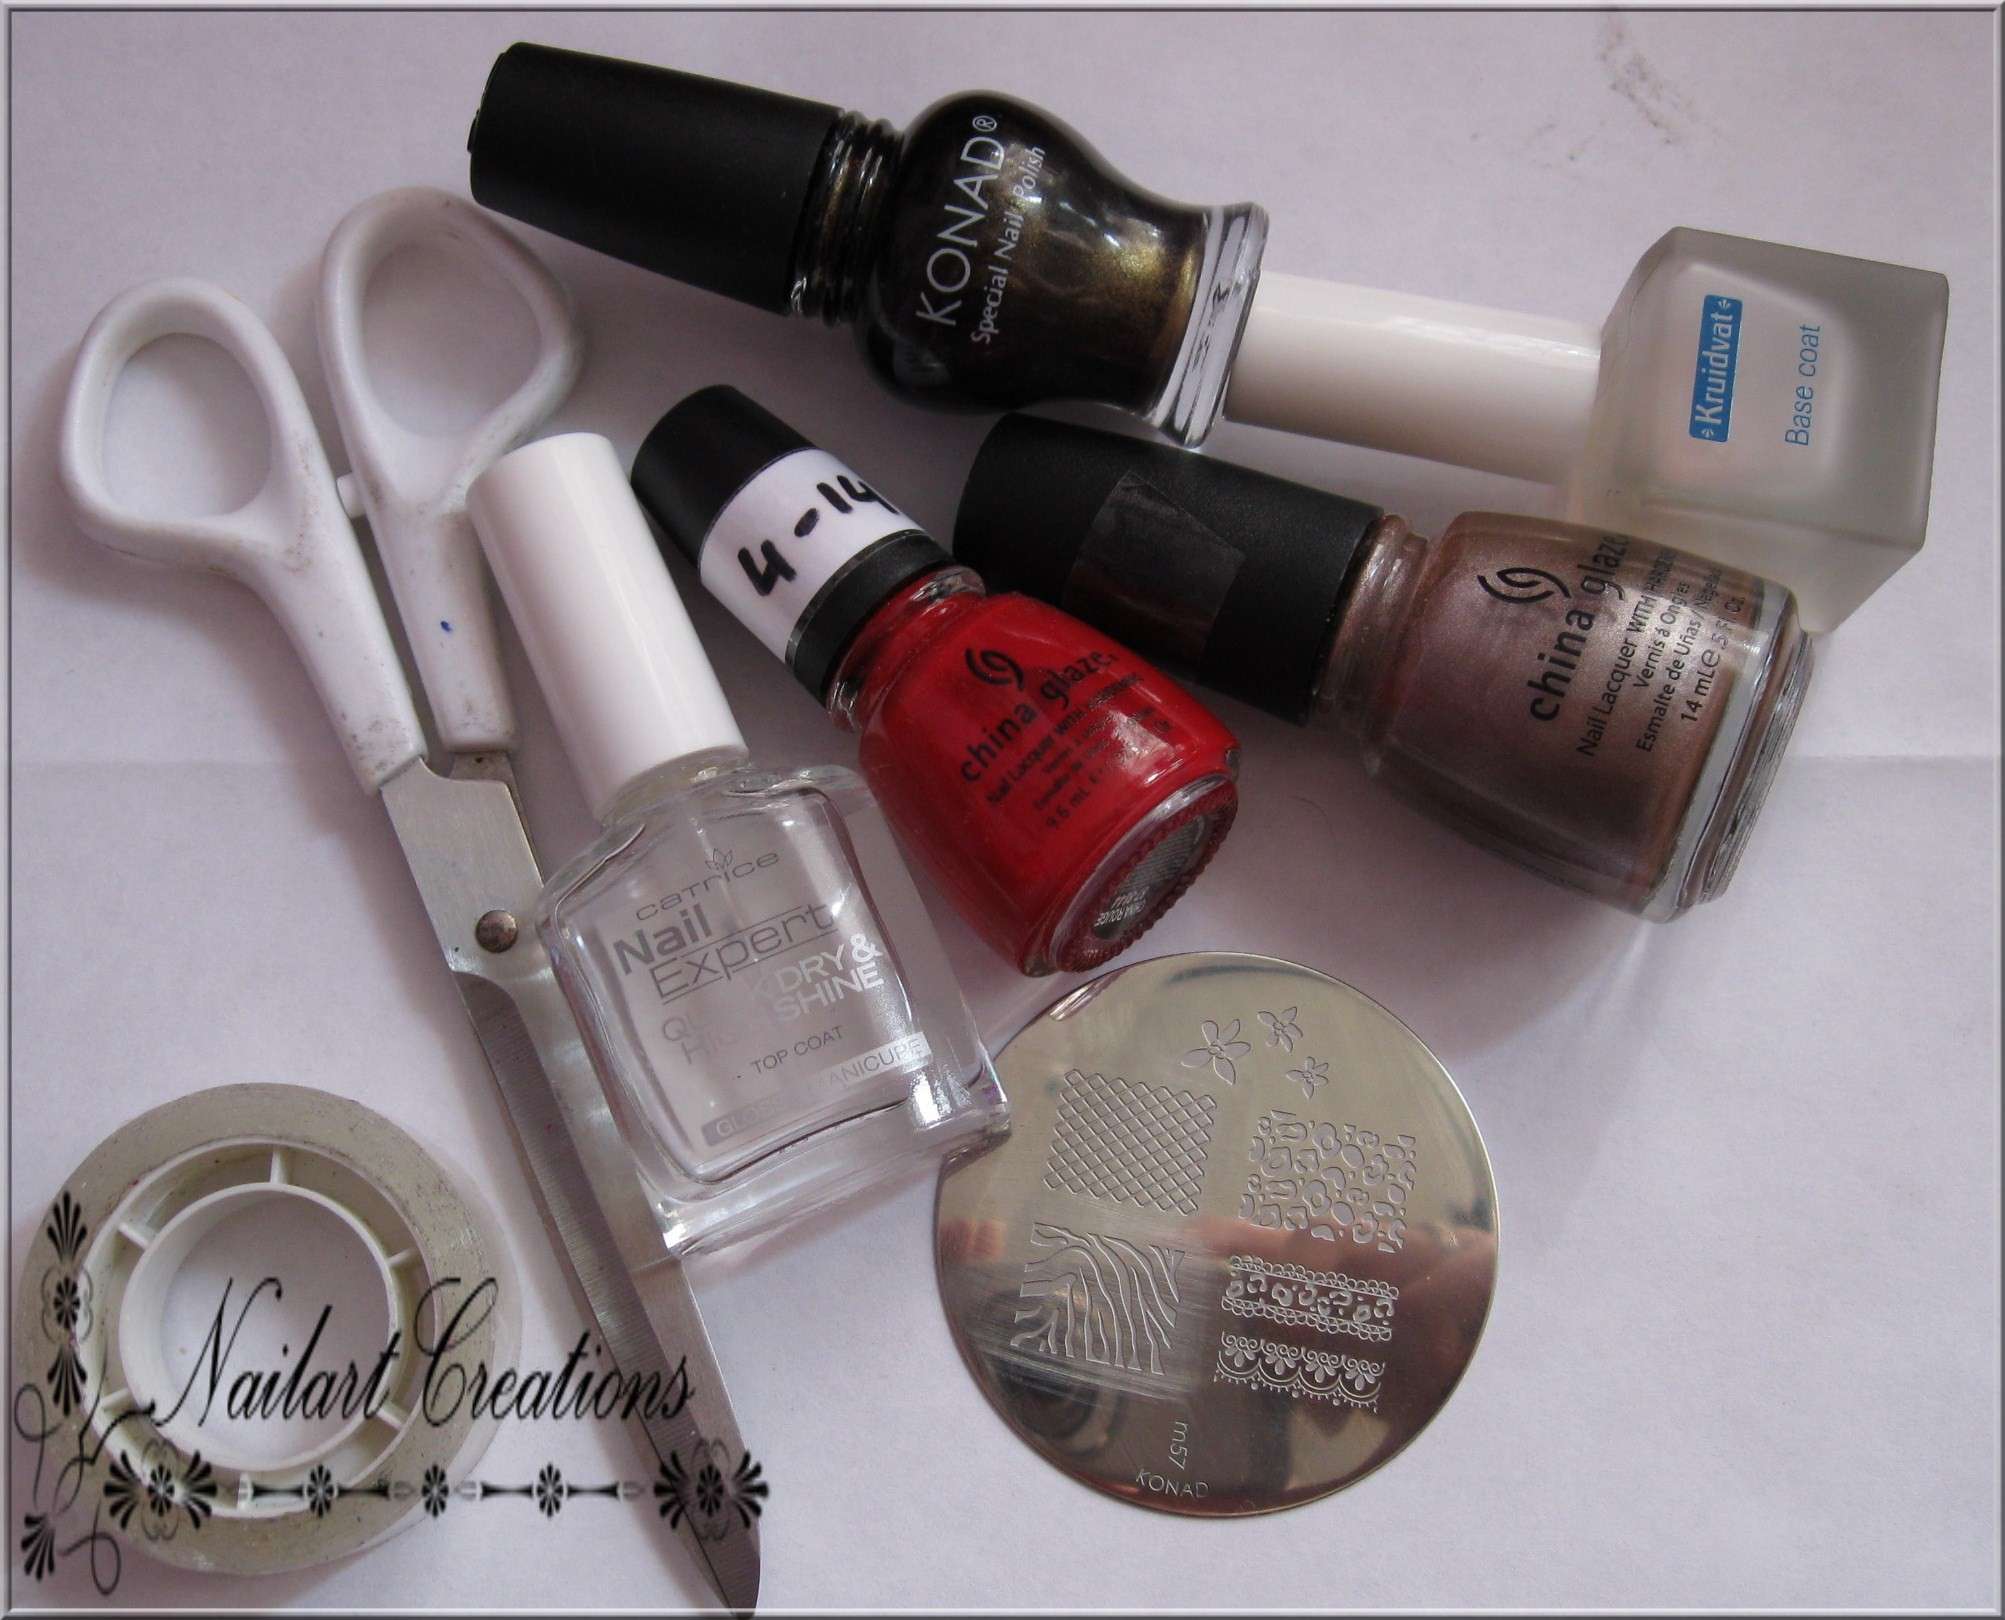
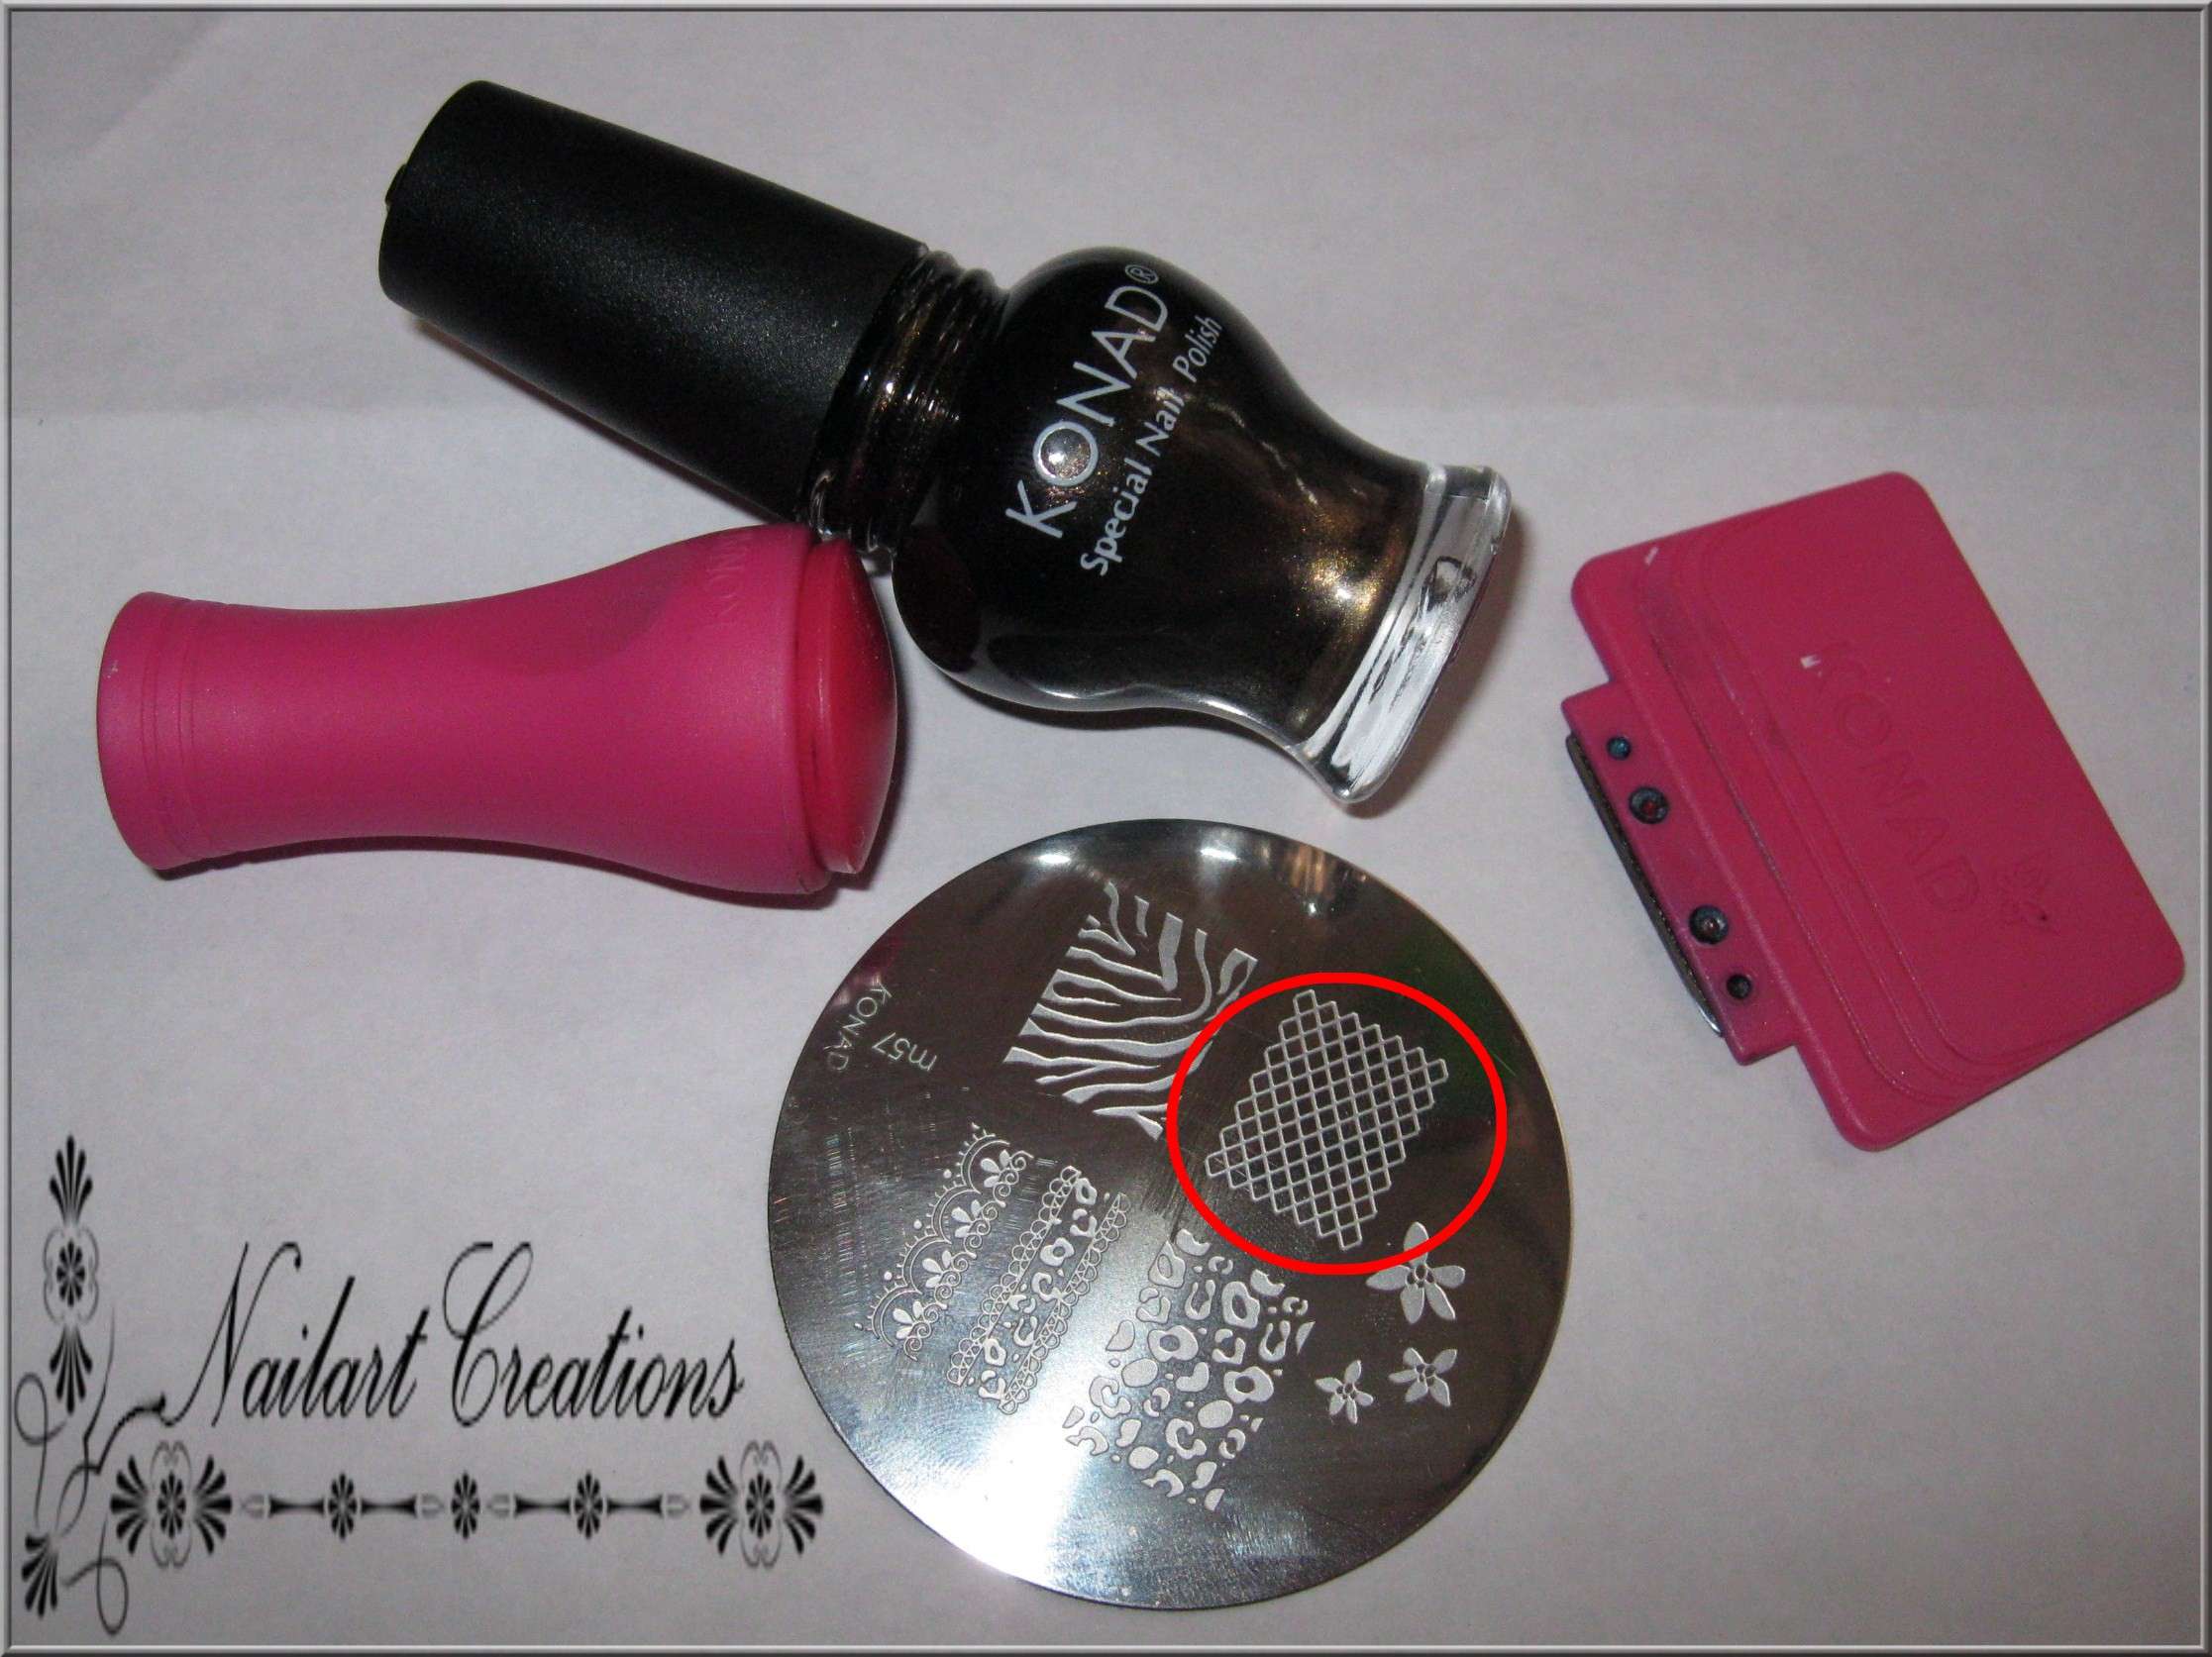
Als eerste leg je alle spulletjes die je nodig hebt klaar. Ik ben op bovenstaande foto vergeten om mijn stempel/schraper erbij te leggen, maar uiteraard heb je die ook nodig! Wat je zoal nodig hebt is een basecoat (ik gebruik de kruidvat basecoat), een basiskleur (het liefst een kleur die met één laagje goed dekt, ik gebruik hier China Glaze - Robotika), een ander lakje voor de vierkantjes (ook hier het liefst een lakje wat met één laagje dekt, ik gebruik hier China Glaze - China Rouge). Een schaar met plakband, je konadspulletjes inclusief de plate met de afbeelding welke je gaat stempelen. En uiteraard een topcoat voor een long lasting nailart!
At first, search for all the stuff you're going to use. I forgot to take a picture of my stamp/scraper but ofcourse you'll need them too! You'll need a basecoat (I'm using Kruidvat Basecoat), a basecolour (the best is to use a one coat polish, I took China Glaze - Robotika). A second polish for the squares (a one coater too, I used China Glaze - China Rouge). Some Scissors and tape, konadstuff with your imageplate. And ofcourse a topcoat for a long lasting nailart!
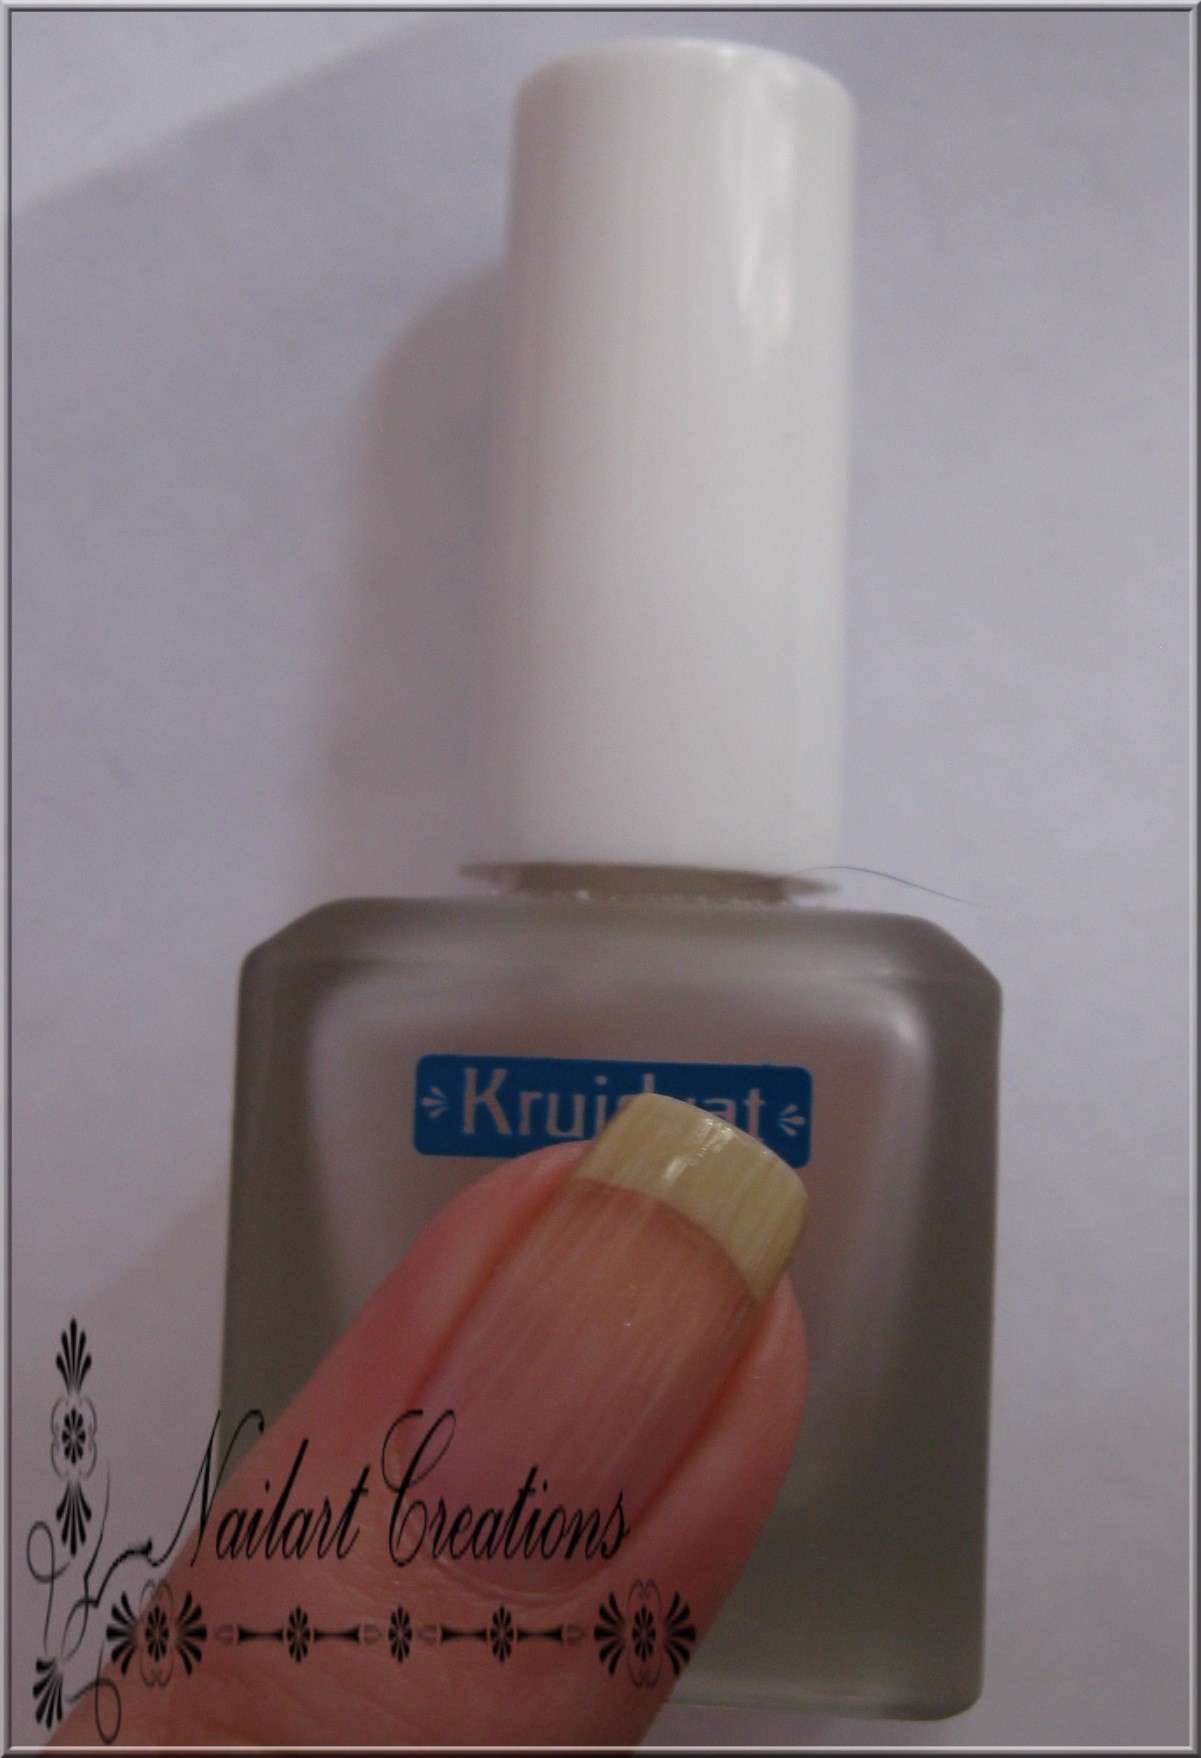
Uiteraard begin je met een laagje basecoat/ Ofcourse you'll start with a basecoat.
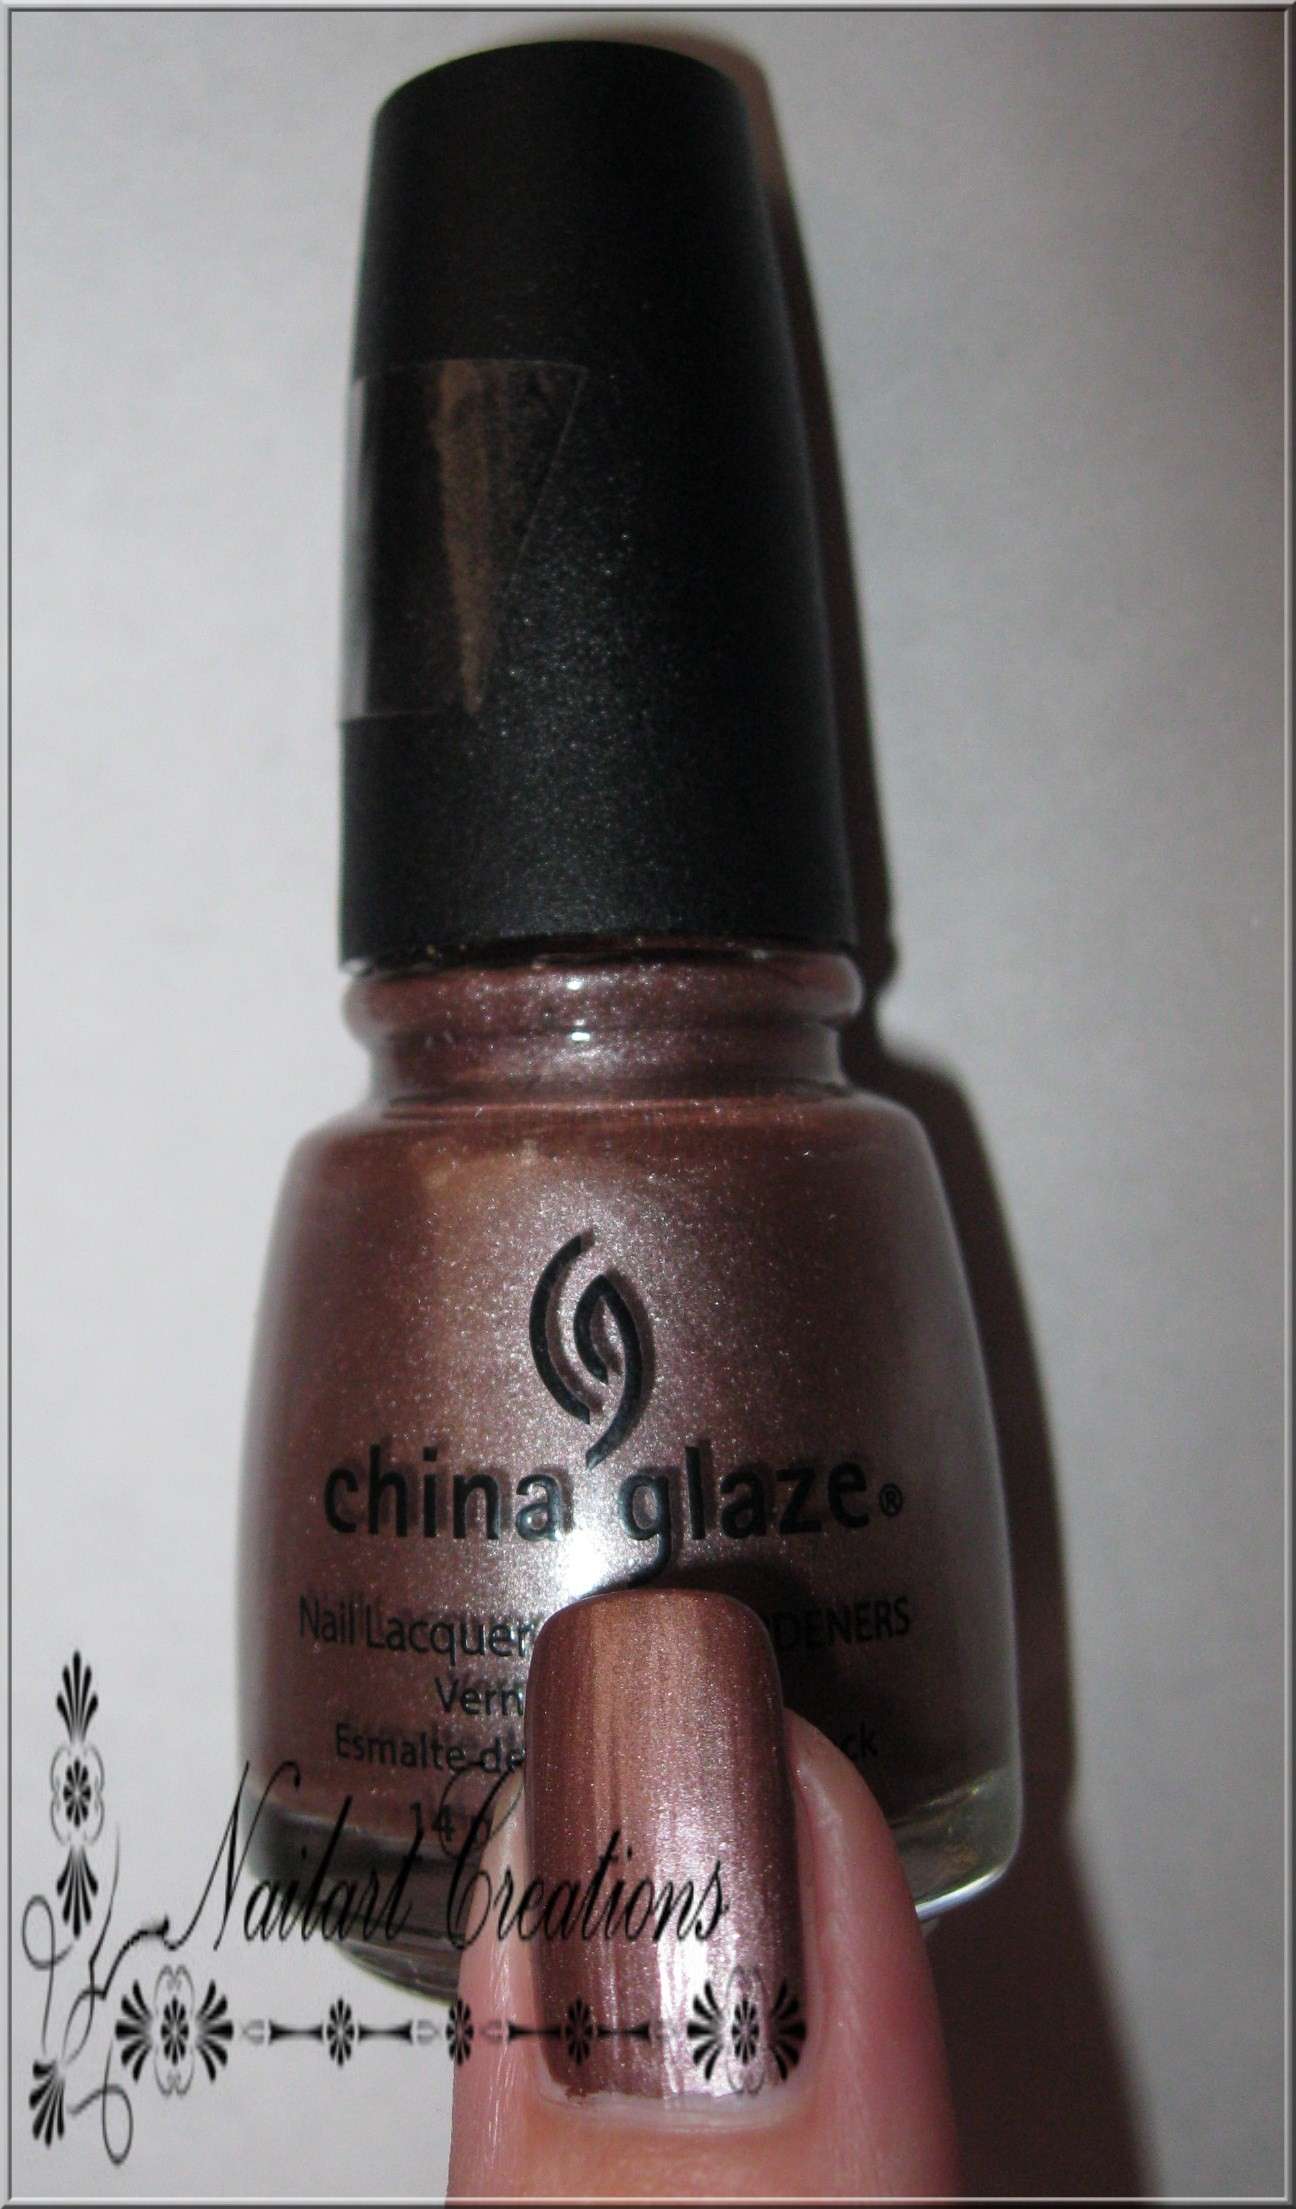
Nu begin je met je basiskleur, ik gebruik hier China Glaze - Robotika welke dekkend is met één laagje lak. Het beste kun je dus een lakje uitzoeken die met één laag dekkend is. Dit vanwege de droogtijd, meerdere laagjes drogen langzamer en zo kun je met de plakband je nagellak van je nagels aftrekken.
Now you're starting to polish your nails with your basecolour. I'm using China Glaze - Robotika, this is a one coat polish. The best is to search for a one coat polish, a polish which need more coats will dry slower, and you're taking a risk with pulling of your nailpolish with your tape.
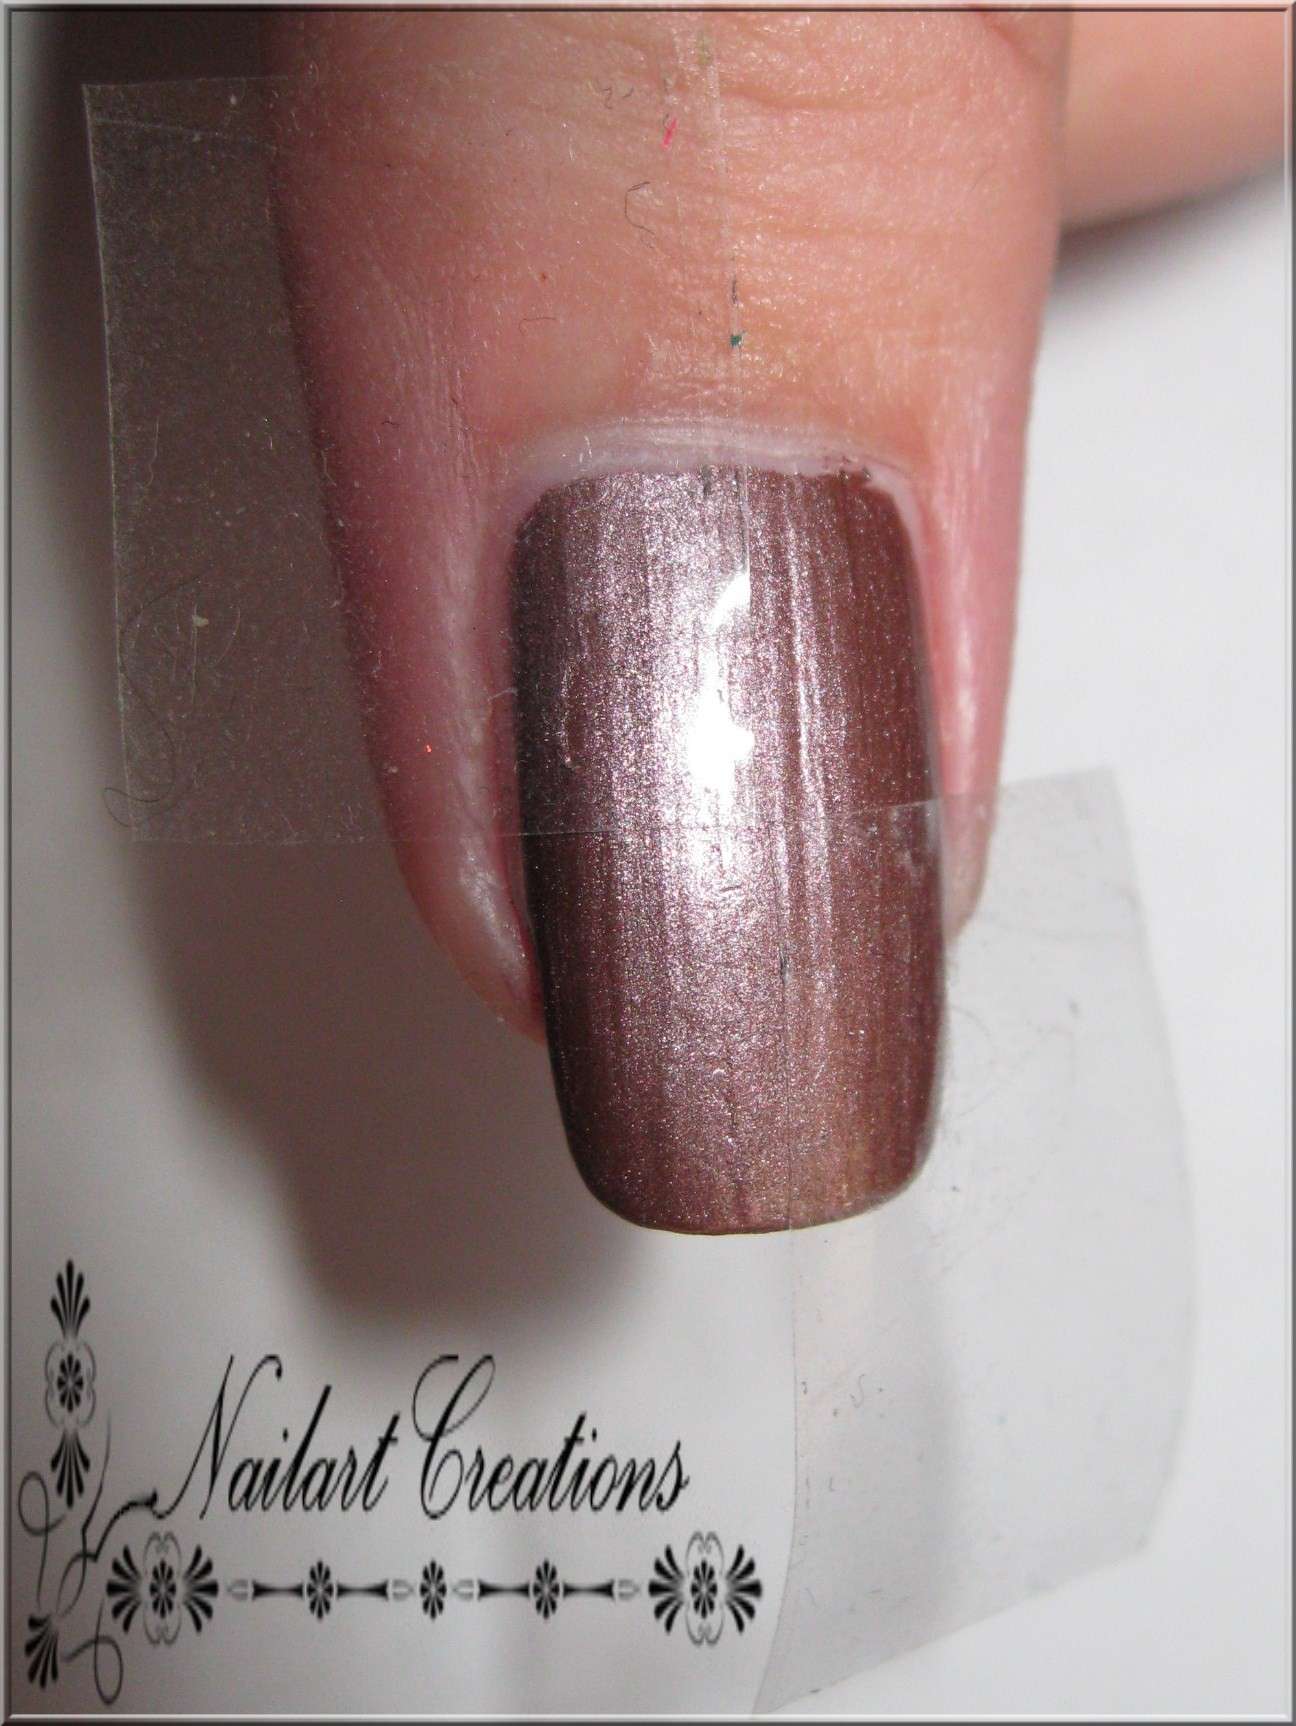
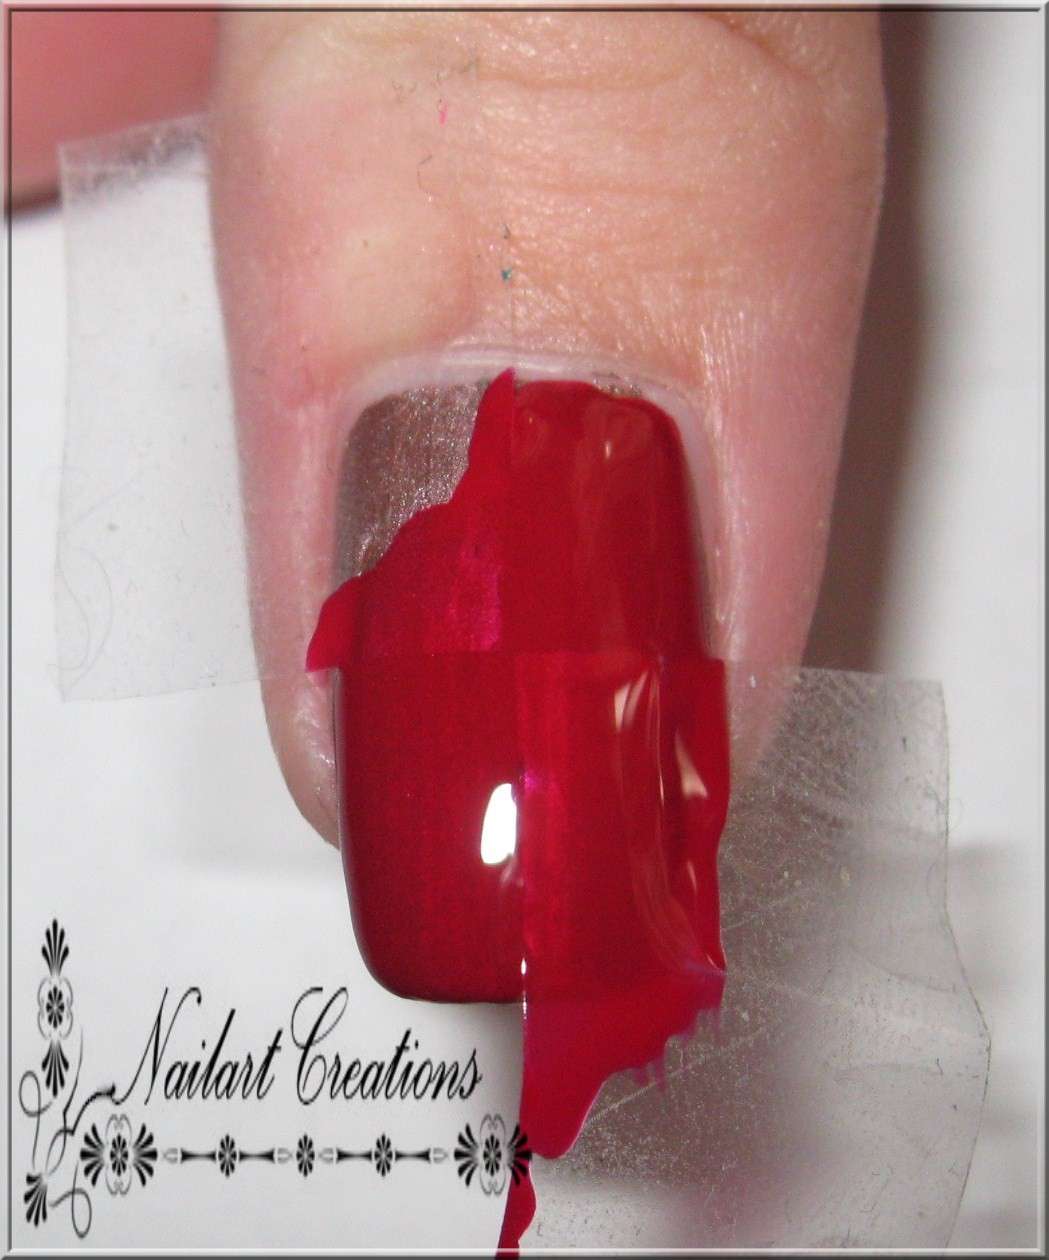
Vervolgens knip je 2 kleine stukjes plakband, en die plak je beide in één van de hoeken van je nagels. Zoals ik op bovenstaande foto heb gedaan dus.
Up next you're cutting 2 little pieces of tape. Stick them both on one corner of your nail, just like I did on above picture.
Nu kun je heel makkelijk je nagel lakken met de kleur waarvan je de blokjes wilt hebben. Ik gebruik hier China Glaze - China Rouge, een rood lakje welke ook dekt met één laagje, ook dit is weer handiger vanwege de droogtijd. Let op, bij deze stap niet meteen de plakband eraf trekken, we moeten nog stempelen!
Now you can polish your nails with the second colour very easily. I used China Glaze - China Rouge, which is a one coater too. A one coat polish is handy because of the dryingtime. Pay attention: Let the tape on your nails! Don't pull it off yet, we've got to stamp!
Nu pak je je konad spulletjes erbij. Ik heb imageplate M57 gebruikt en een cirkeltje om het design gezet welke ik ga gebruiken. De fishnet dus. Verder gebruik ik Konad - Gold Black als stempellak.
Now you're gonna take your Konad stuff. I used Imageplate M57, I circled the design which i'm going to use, it's the fishnet design. Further I'm using Konad - Gold Black as my stampingpolish.
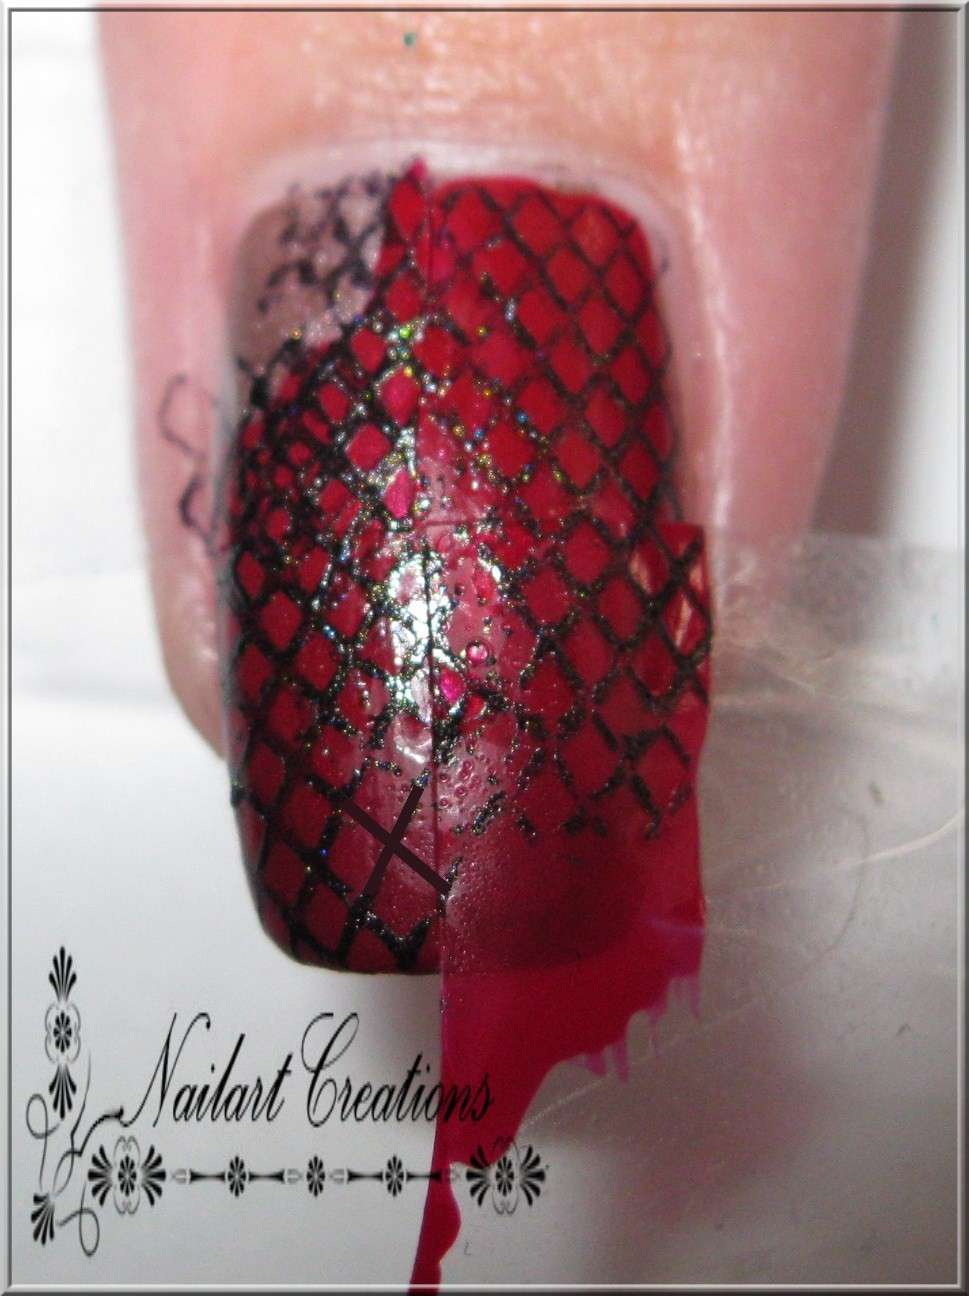
Wanneer de lak goed droog is stempel je het design gewoon eroverheen. Dus ook over het plakband heen. Het design hier was iets te klein voor mijn nagels dus ik moest dubbel stempelen, wat vaak niet zo heel erg mooi uitkomt met dit soort stempels. Met korte nagels is dit dus veel makkelijker!
When you're polish is completely dry. You take your stamp and stamp over your nail, inclusive the tape, just stamp over it. Unfortunately the design was to small for my nails, so I had to stamp twice, which isn't a good thing. With shorter nails this will be much prettier!
Nu haal je voorzichtig de plakband eraf en eindig je met een laagje topcoat. Zoals je kunt zien zijn de lijnen bij mij niet heel recht dit kwam omdat de plakband niet goed meer kleefde. Met goed plakkende plakband zul je dus kaarsrechte lijnen hebben! En nu ben je klaar!
Now you're removing the tape, very carefully! As you can see my lines aren't straight, this is because my tape wasn't sticky enough, with good sticky tape you'll have nice straight lines. Just finish it up with a coat of topcoat and your nailart is done!
Vonden jullie deze tutorial nuttig? En gaan jullie dit ook uitproberen? / Was this tutorial handy? And are you gonna try this nailart?
Thanks for stopping by!


Heel gaaf :-)
BeantwoordenVerwijderenSuperleuk! Ik wil het ook proberen, hopelijk wordt het mooi :)
BeantwoordenVerwijderen@ Shirley,
BeantwoordenVerwijderenThanks!
@ Silva,
Succes met proberen! Geef je me ff een berichtje als het je gelukt is? Ben zeer benieuwd!
Erg leuk, ik heb het al een aantal keren gedaan.
BeantwoordenVerwijderenWat leuk gedaan!
BeantwoordenVerwijderenErg leuk ik houd wel van tutorials,ik heb ook weleens een mani gemaakt heb je vast wel een foto van gezien op twitter maar dan die met 3 stukken was echt trots dat het goed gelukt was.
BeantwoordenVerwijderenZal deze ook eens gaan proberen is leuk!!