
A while ago in the post: New Stuff, you saw a French Manicure set. I tried this one, so I'm now going to review this product for you! The kit is from the branch Suhada, which is totally unknown for me, but anyway, It's just more fun to try it.
 Dit zat er dus in het doosje, excuses voor de ietwat wazige foto. Maar dit was de inhoud: French Manicure guidelines, basecoat, white coat, topcoat, vijl, nagelriemstokjes en teenspreiders. Achterin het doosje zit ook nog een heel lief suedezakje.
So this was in the box (I'm sorry for the bad picture). But this was inside: French Manicure guidelines, basecoat, white coat, topcoat, a file, cuticle sticks and toenail spreaders. Behind in the box there was also a cute little suède bag.
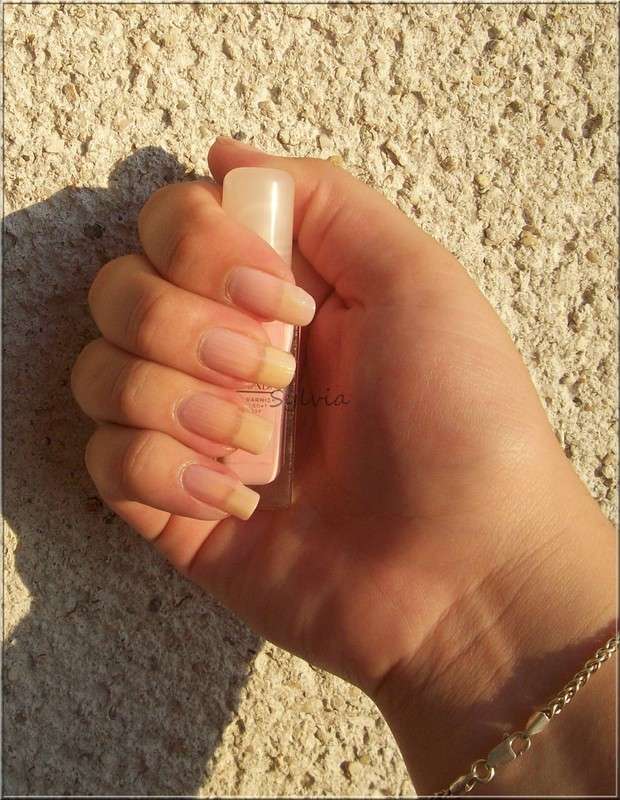 Stap 1 is het opdoen van de basecoat, zoals op bovenstaande foto. De basecoat die in deze set zat is een rozige basecoat, dus zoals je kunt zien geeft deze een rozige kleur af, welke een extra natuurlijke look aan je nagels hoort te geven.
Step 1 is gaining the basecoat, as you can see on the photo above. The basecoat in this kit was a little bit pink, so it looks a little bit pink on your nails. This is for accenting your real nails.
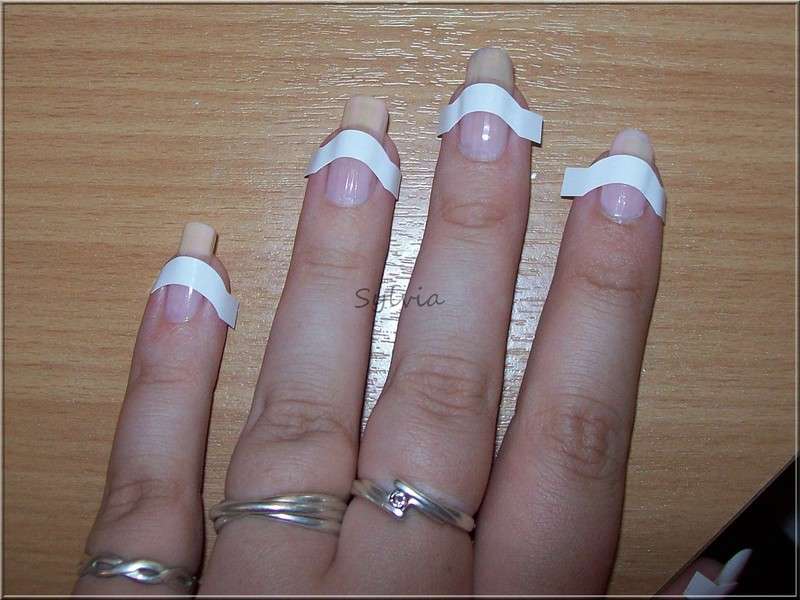 Stap 2 is de guidelines op je nagels plaatsen. Zorg dat je de guidelines iets boven het randje van je natuurlijke nagel plaatst. Je moet er wel voor zorgen dat de basecoat echt heel goed droog is, op één nagel was ik iets te snel met de guideline, en dat zag je dus heel goed na het afhalen van de guideline. De guidelines heb ik geplaatst met een pincet, zodat de lijmlaag goed op de sjablonen blijft zitten. Deze guidelines plakken trouwens ontzettend goed!
Step 2 is placing the guidelines. Make sure you put the guidelines a little bit above the edge of your natural nails. Oh and make sure that the basecoat is really dry, I put one guideline to fast on my nail, and you can really see that when you remove the guideline. I've placed the guidelines with tweezers, so the glue is intact. These guidelines stick really good!
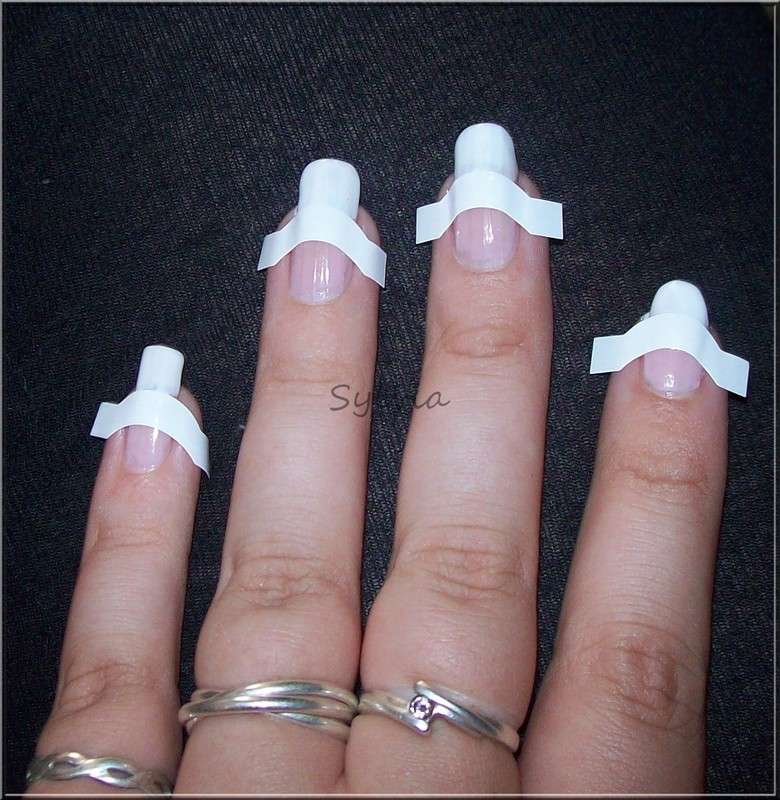 Stap 3 is de whitecoat over de tips van je nagels lakken. Door de guidelines heb je dus geen vaste hand nodig en kun je gewoon op je gemak de tips wit maken. Het maakt ook niet uit of je uitschiet over de guidelines heen (zorg er natuurlijk wel voor dat je er niet aan de andere kant van de guidelines overheen gaat ;)).
Step 3 is putting the whitecoat on your tips. Because of the guidelines you don't need a steady hand. And you can polish a little bit over the guidelines (just make sure you don't polish the other side of the guidelines ;)).
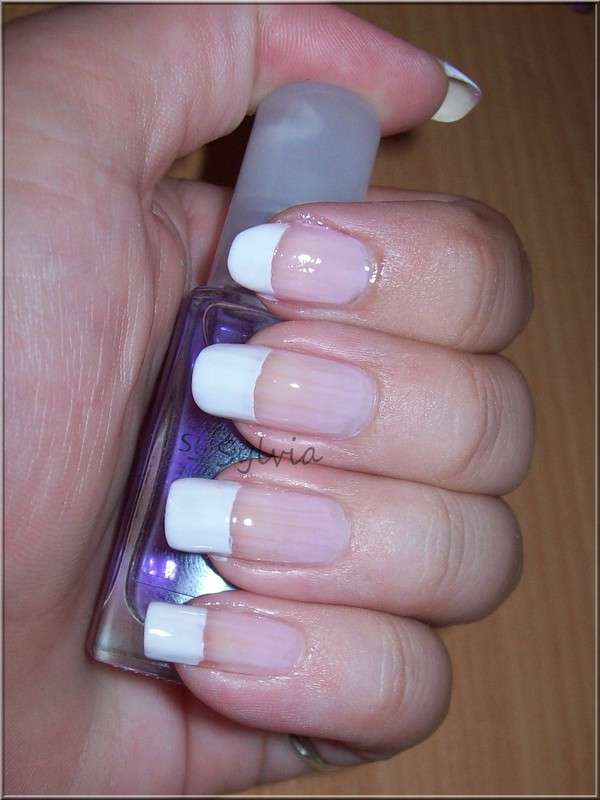 De laatste stap is de topcoat. Dit geeft een glanzend effect. Wat me wel heel erg opvalt aan deze set is dat je ondanks dat je echt nagellak gebruikt, je een ontzettende 'fake nagels' look krijgt.
The last step is applying the topcoat. This is for the shiny effect. But.. despite of using nailpolish, you really create a fake nails look.
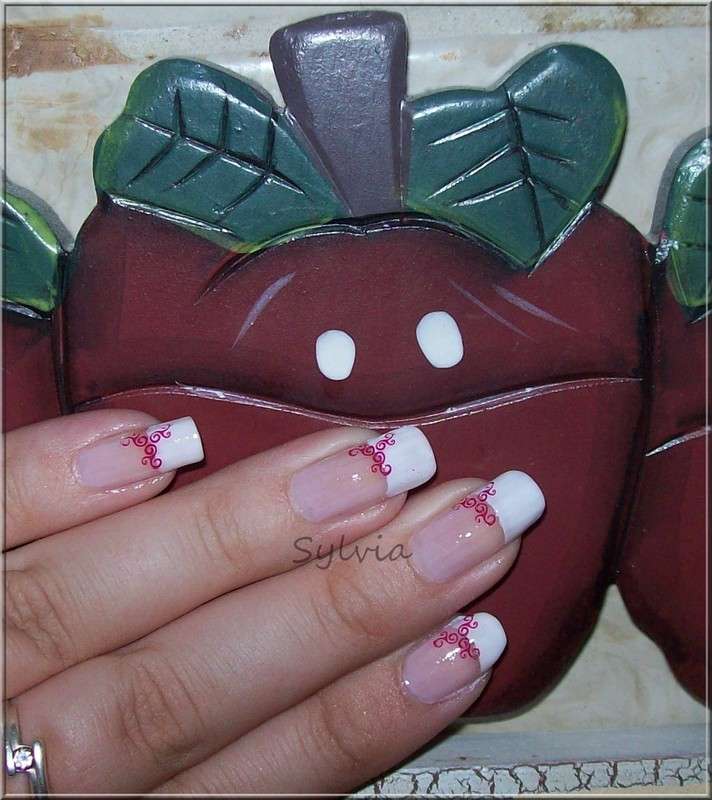 Uiteindelijk heb ik er zelf nog wat overheen gestempeld zodat het niet zo'n hele saaie look geeft. Deze stempel komt van één van de Essence plates af, en is alweer gestempeld met Catrice - Let's talk about barrie!
At the end I've added some stamping, because it was really boring without any nailart. This stamp is from one of the Essence plates, and is stamped with Catrice - Let's talk about Barrie!
Mijn eindconclusie van deze set is ontzettend positief, ondanks dat het enigsinds een fake nagel effect geeft is het wel erg mooi. Ook heeft dit er 8 dagen perfect zonder enige chips opgezeten. Juist ook omdat de prijs heel goedkoop is, is dit echt heel verwonderlijk! Dit setje heeft mij €5,- gekost, en is te verkrijgen bij de Lidl, deze set heb je ook in een beige variant, ik heb dus de roze.
My conclusion is really positive. One little disadvantage is the fake nail look. The rest is positive, this French Manicure hold 8 days perfectly on my nails without chipping. The prize is really positive, It costs €5,- and you can buy it in the Lidl (Dutch supermarket), this kit is available in the colours beige and pink.
Thanks for reading!
Ziet er leuk uit, met die stempel!
BeantwoordenVerwijderen@ Floor en Marjolein,
BeantwoordenVerwijderenDankje!
Je bent getagged door ons! :D
BeantwoordenVerwijderen^
BeantwoordenVerwijderenWat leuk! Ik ga hem vanavond invullen en op de blog zetten :)
die stickers werken nooit bij me!! :s
BeantwoordenVerwijderen^
BeantwoordenVerwijderenDit was ook de eerste keer dat ik die 'stickers' uitgeprobeerd heb, maar deze vond ik prima plakken (heb geen ervaring met andere varianten, meestal doe ik het uit de losse hand) zal een keer uitproberen met een ander merk kijken of er echt verschil inzit!
Hoe breng jij de 'stickers' aan? Wanneer je het gewoon met je handen doet haal je ook weer een deel lijmlaag eraf. Ik heb een pincet gebruikt zodat het grootste deel van de lijmlaag intact blijft.